Running missions in Illuminate-controlled cities can feel overwhelming at first, but once you understand how to use vertical terrain, precision weapons, and coordinated support tools, these operations become some of the most rewarding in Helldivers 2. After watching the gameplay session in the transcript, I wanted to break down the strategies shown and share a practical guide for anyone looking to tackle these dense urban zones more effectively.
This isn’t a flashy min-max build write-up. Instead, it’s a grounded, hands-on look at how you can move, fight, and survive in Illuminate territory using adaptable tactics that work even without a full squad.
Mastering the High Ground Advantage
One of the defining strengths in this mission was the player's constant use of high ground. Illuminate overseers and watchers hit hard, and staying on street level often means you’re surrounded before you even notice a patrol. By hopping between rooftops with the hover pack, the player gained a huge visibility advantage—far more than what is possible with standard ground movement.
It’s worth practicing the timing on the hover pack because it doesn’t allow you to cut the thrust early. That means if you activate it a little too soon, you’ll overshoot your target. On the other hand, activating it too late can leave you stranded on a lower ledge, forcing you to weave through street-level enemies instead of safely covering your teammate from above.
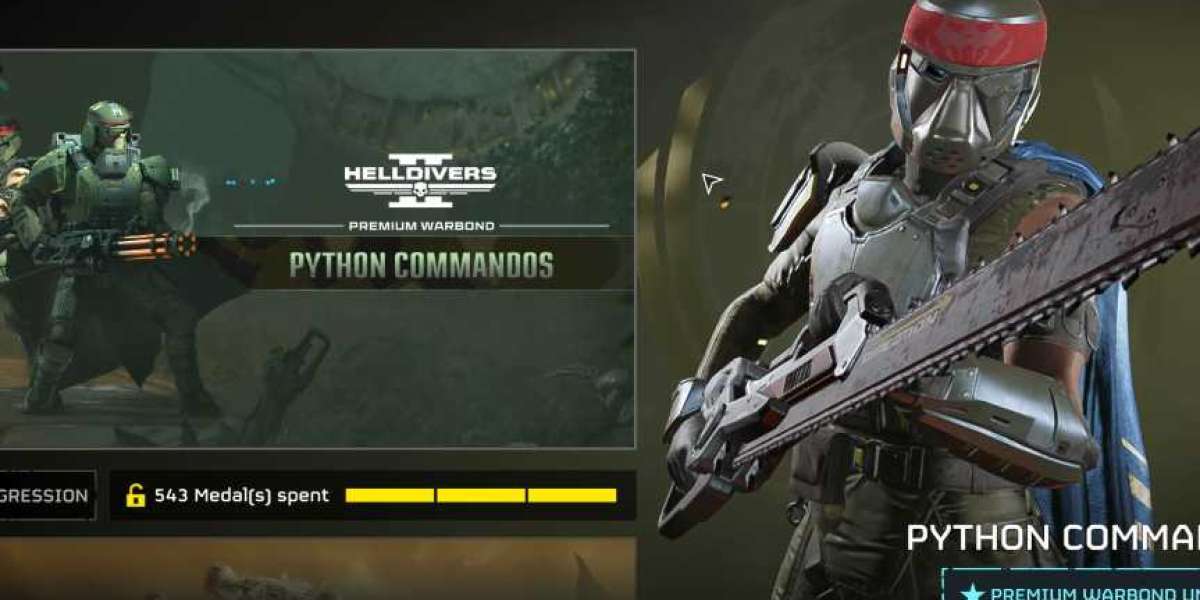
Terrain awareness becomes even more important when using precision weapons, and players who are trying to make steady progress through their loadouts sometimes look for ways to buy helldivers 2 medals on third-party marketplaces. Personally, I prefer earning everything in-game, but I understand why some players consider outside options when they want to test builds faster.
AMR Headshots: High Risk, High Reward
The AMR remains one of the most satisfying but demanding weapons in Helldivers 2. A clean headshot deletes watchers instantly, but body shots—especially on overseers—tend to feel underwhelming. The transcript shows how the player repeatedly emphasizes precision: a mistimed or off-center shot wastes precious ammo, and reloading on a rooftop while being pressured from multiple angles can turn sour very quickly.
What stood out to me is how the AMR pairs well with a teammate running the Arc Thrower. When the Arc Thrower chains to overseers and disables them briefly, that small window is all you need to line up a perfect AMR shot. If you’re running a similar setup, try letting your Arc Thrower buddy anchor the fight while you handle overwatch.
Smart Sentry Placement for Urban Zones
Illuminate cities have narrow alleyways, confusing multi-level terrain, and plenty of blind corners. The player compensates for this by placing sentries at different angles around objectives—Gatling on one side, machine gun on the other—to cover overlapping lanes.
This approach works especially well at SAM sites, where enemies tend to funnel in predictable routes. Just avoid placing turrets too close to the central capture point; the last thing you want is friendly fire breaking your shield or knocking you down while you’re interacting with the terminal.
While experimenting with builds that focus on turret support, some players also look into in-game resource tips, especially when dealing with upgrades tied to rare drops. Discussions about options such as U4GM sometimes come up in the community, but as always, sticking to in-game progression ensures you stay within expected gameplay balance.
Handling Harvesters and Larger Threats
Harvesters were late to appear in this mission, but once they arrived, you can see how important it is to reposition to a new vantage point. Trying to fight a harvester from street level usually puts you right in the path of accompanying watchers or boltless units. From above, however, you can easily track their movement and land shots without exposing yourself.
When things get chaotic—especially once buildings start collapsing under heavy fire—the best move is often to drop to a safer rooftop and reset your firing lane. The player demonstrates this well, never staying in the same position once his cover starts taking too much damage.
Objective Pacing and Route Management
A common mistake many players make is completing objectives in the order they appear. In Illuminate biomes, this can get you stuck in complicated pathing loops. Instead, planning a counter-clockwise or clockwise sweep around the map can help you maintain consistent elevation and keep a predictable flow of engagements.
The transcript showed this perfectly: the squad set up a route early, cleared rooftops as they progressed, and avoided doubling back into newly spawned patrols. If your team tends to get overwhelmed, try mapping out your rotation before the first firefight even begins.
And for players grinding out cosmetics or expansion parts, some eventually look for ways to get helldivers 2 super credits quicker. Whether you stick to farming missions or look elsewhere, pacing your route makes a huge difference in both survival and efficiency.
Illuminate city missions can feel brutal at first, but once you learn how to control rooftops, manage turret angles, and coordinate precision weapons, these missions become some of the most dynamic in the entire game. The strategies shown in the transcript highlight the value of good positioning and patient aim, and they’re great foundations for anyone looking to improve their performance in these dense urban maps.
Reader Favorite: G-13 Incendiary Impact – Helldivers 2 Tactical Analysis Build Guide